
Roman Blinds


Clean, straight lines make roman blinds an extremely popular choice in NZ homes.
Positioned above the window, roman blinds don't close a room in but instead give it a sense of space and light – offering a more minimalist solution than curtains.
McKenzie House manufactures beautiful quality roman blinds with a choice of control mechanisms - cord & cleat, chain-operated or motorised.
Create your own beautiful romans using the easy-to-follow guide below.
When you've finished creating, use McKenzie House's exclusive interactive calculators to get an instant quote - you'll find them on every fabric page.
I've put together a couple of handy resources to help get you started. The worksheet is optional to use but it helps you record all the details in one place.

This printable worksheet makes it easy to keep track of all your info as you progress through the steps below.

Download this guide to learn how to measure your windows for roman blinds.
Step 1. Give your window/s a name for future reference.
Step 2. Using the above guide, determine the finished width and drop of your blinds. ie. Please don’t give just your window measurements.
Step 3. Choose your operating system
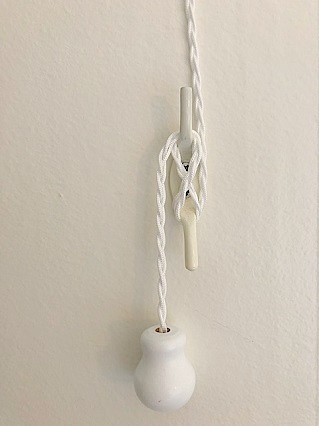
Cord & cleat
The traditional method of operating a roman blind. Cords are finished with a white wooden acorn.
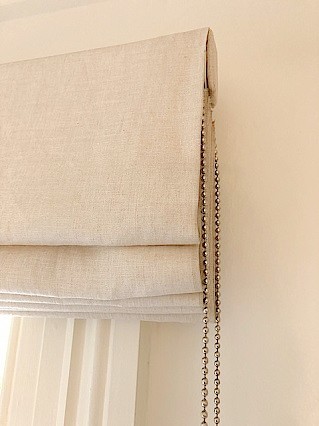
Chain-driven
Available with metal or plastic chain. Adds cost to the overall price of a blind but is popular with customers who want a neat finish without cords hanging down. Slower and noisier to operate than a cord and cleat operation.
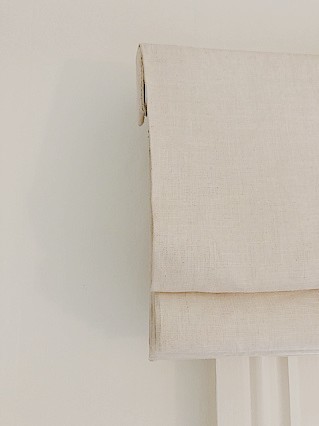
Motorised
The ultimate minimalist finish. No cords or chain hanging down - the blind is raised and lowered by a concealed battery-powered motor and operated with a remote control. Not suitable for very large, heavy blinds - please enquire about maximum weight.
Step 4. Choose which chain colour you'd like (for chain-driven blinds only). Skip to Step 6 if choosing a cord & cleat blind.

White plastic

Ivory plastic

Grey plastic

Black plastic

Metal
Step 5. Choose your chain length (for chain-driven blinds only)
Options are: 750mm, 1000mm, 1250mm, 1500mm, 1750mm or 2000mm
Step 6. Choose which side you'd like the chain, cord control or motor end.
Step 7. Is your blind to fit over the outside of the window frame (recommended) or on the inside of the window frame?
Step 8. Is your blind to be face-fixed (eg. onto a wall or window frame) or top-fixed (under a pelmet/ceiling)?
Step 9. Choose your stacking style (this is how your blind looks when it's pulled up).
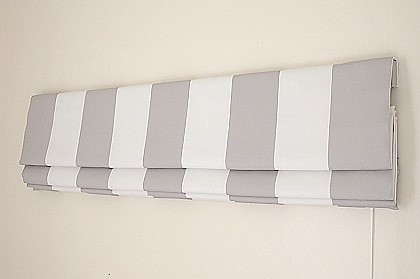
Layered
Layered roman blinds form a casual tiered effect when pulled right up
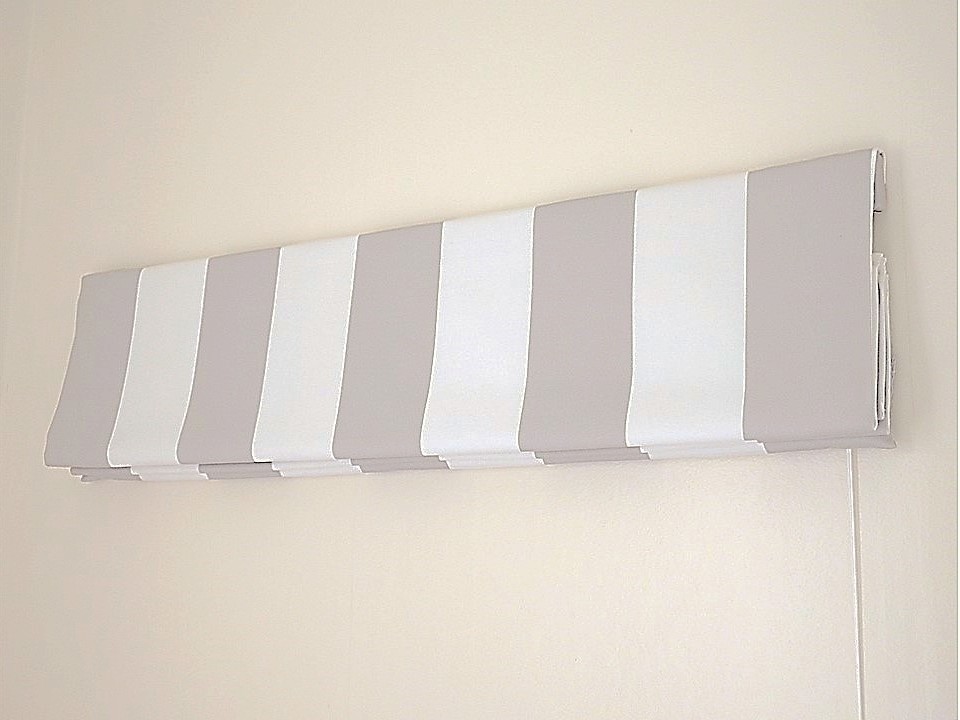
Stacked
This option offers a simple streamlined finish that suits modern interiors or rooms where a minimum of detail is required.
Step 10. Choose your lining option from one of the below:
(NB. If you don’t want a lining please choose 'none' in the lining question)

Polycotton
The lightest weight lining but still enough to add extra insulation and structure to your blinds. Will let daylight into the room.
White or ivory only

Standard Blockout Thermal
Thermal coated – for ultimate insulation and light reduction. Blockout creates a darkened room but you can still expect light to reflect off the walls around the edges of blinds. See note below **
Ivory colour

Dimout
Triple Weave Dimout lining creates a room-darkening effect without being a total blockout. The perfect solution if you don’t want thermal coated lining but still need some light control. See note below **
White or Cream
**NB. If you choose either blockout or dimout lining you'll notice a ‘pinhole’ effect along the stitch lines on the front of the blind. This is unavoidable and is caused by daylight coming through where the needle has punched through the fabric during sewing. This is only noticeable if the blind is lowered during daylight hours.
If you choose not to use the online calculators found on each fabric page you can still use the information you've recorded to request a quote. Please allow up to 24-48 hours to receive your quote.
Already have your own fabric? I'm more than happy to work with fabric you supply. Write your fabric details on the bottom of the worksheet and email it to me.
Additional details
Would you like to add borders to your romans? If yes, please get in touch by email if you'd like this option.

Single border along bottom edge

Single border down each side

Single border on 3 sides
NB. Romans can be either 'tucked' or 'flatfronted'. This is what you see when your blind is down. After assessing your order I will recommend which is the best option for the manufacture of your blinds. Below are the norms used.

Tucked – The normal option for plain fabrics but can be used for patterned fabrics if desired (some of the pattern will be "lost' in the tucks).

Flatfronted – The normal option for patterned fabrics so none of the pattern is lost in tucks. All you will see on the front of your blind are rows of stitching (as opposed to tucks). Can also be used for plain fabrics if desired.
Design Tips for Roman Blinds
- Fabrics with vertical stripes make fantastic roman blinds. However, fabrics with horizontal stripes, checks or other horizontal accents are not recommended.
- To increase the sense of space and height in a room make your roman blinds go all the way to the ceiling.
- Use a roman blind under curtains for double insulation – especially great for older homes

Got a question or special request? I'm happy to help!
If you don't see the style you'd like in the options above please email me as most styles can be custom-made to your requirements.